Step 1: Make it
What is it?
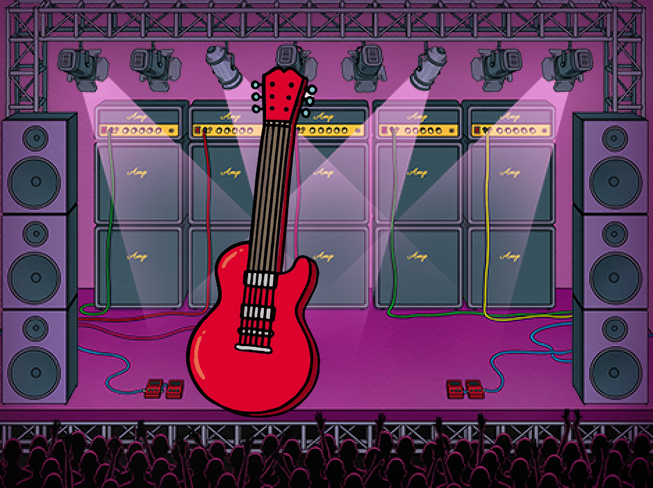
Play real chords on an electric micro:bit guitar.
How it works
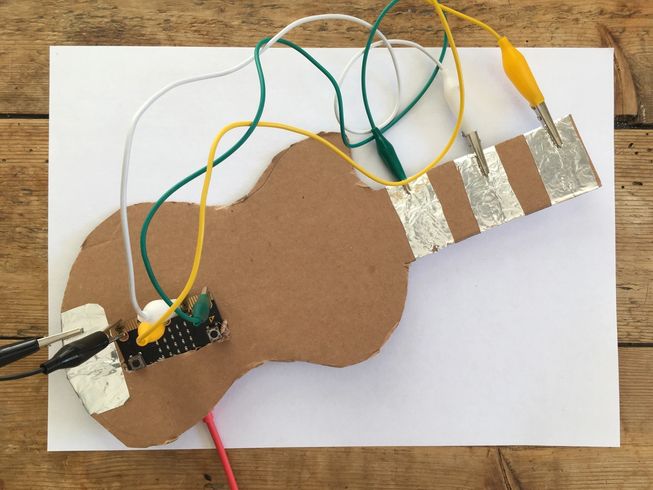
- Make a guitar or keyboard from cardboard and foil like the one in the picture.
- Connect tin foil pads to the 0, 1, 2 and GND input pins on the micro:bit.
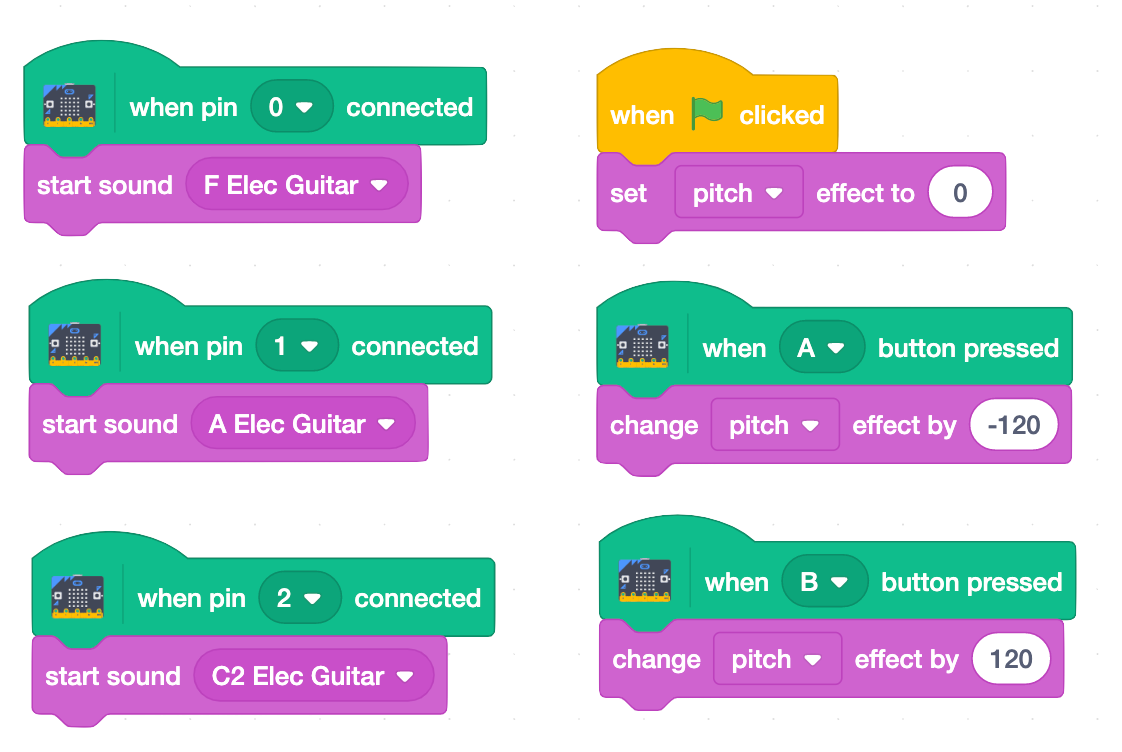
- When you touch the GND pin and one of the other pins, the program plays the note F, A or C in a guitar sound on your computer’s audio output.
- If you press them all together it plays the 3 notes at the same time. This is an F major chord.
- Pressing button A or B on the micro:bit causes the program to shift the pitch up or down an octave (a pitch shift of +120 or -120 is up or down one whole octave – 8 notes).
What you need
- micro:bit and optional battery pack
- suitable computer with Scratch link installed. See https://scratch.mit.edu/microbit for details on how to get Scratch working with micro:bit
- 4 crocodile clip leads
- cardboard, scissors, glue, tin foil
Step 2: Code it
Step 3: Improve it
- Make the pitch change more subtle with smaller numbers: try 12 instead of 120.
- Add a volume control by measuring the angle of tilt of your micro:bit guitar.
- Add more chords or change the instrument sound in Scratch.