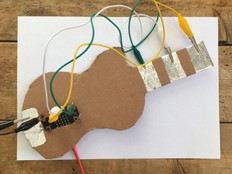
Step 1: Make it
What is it?
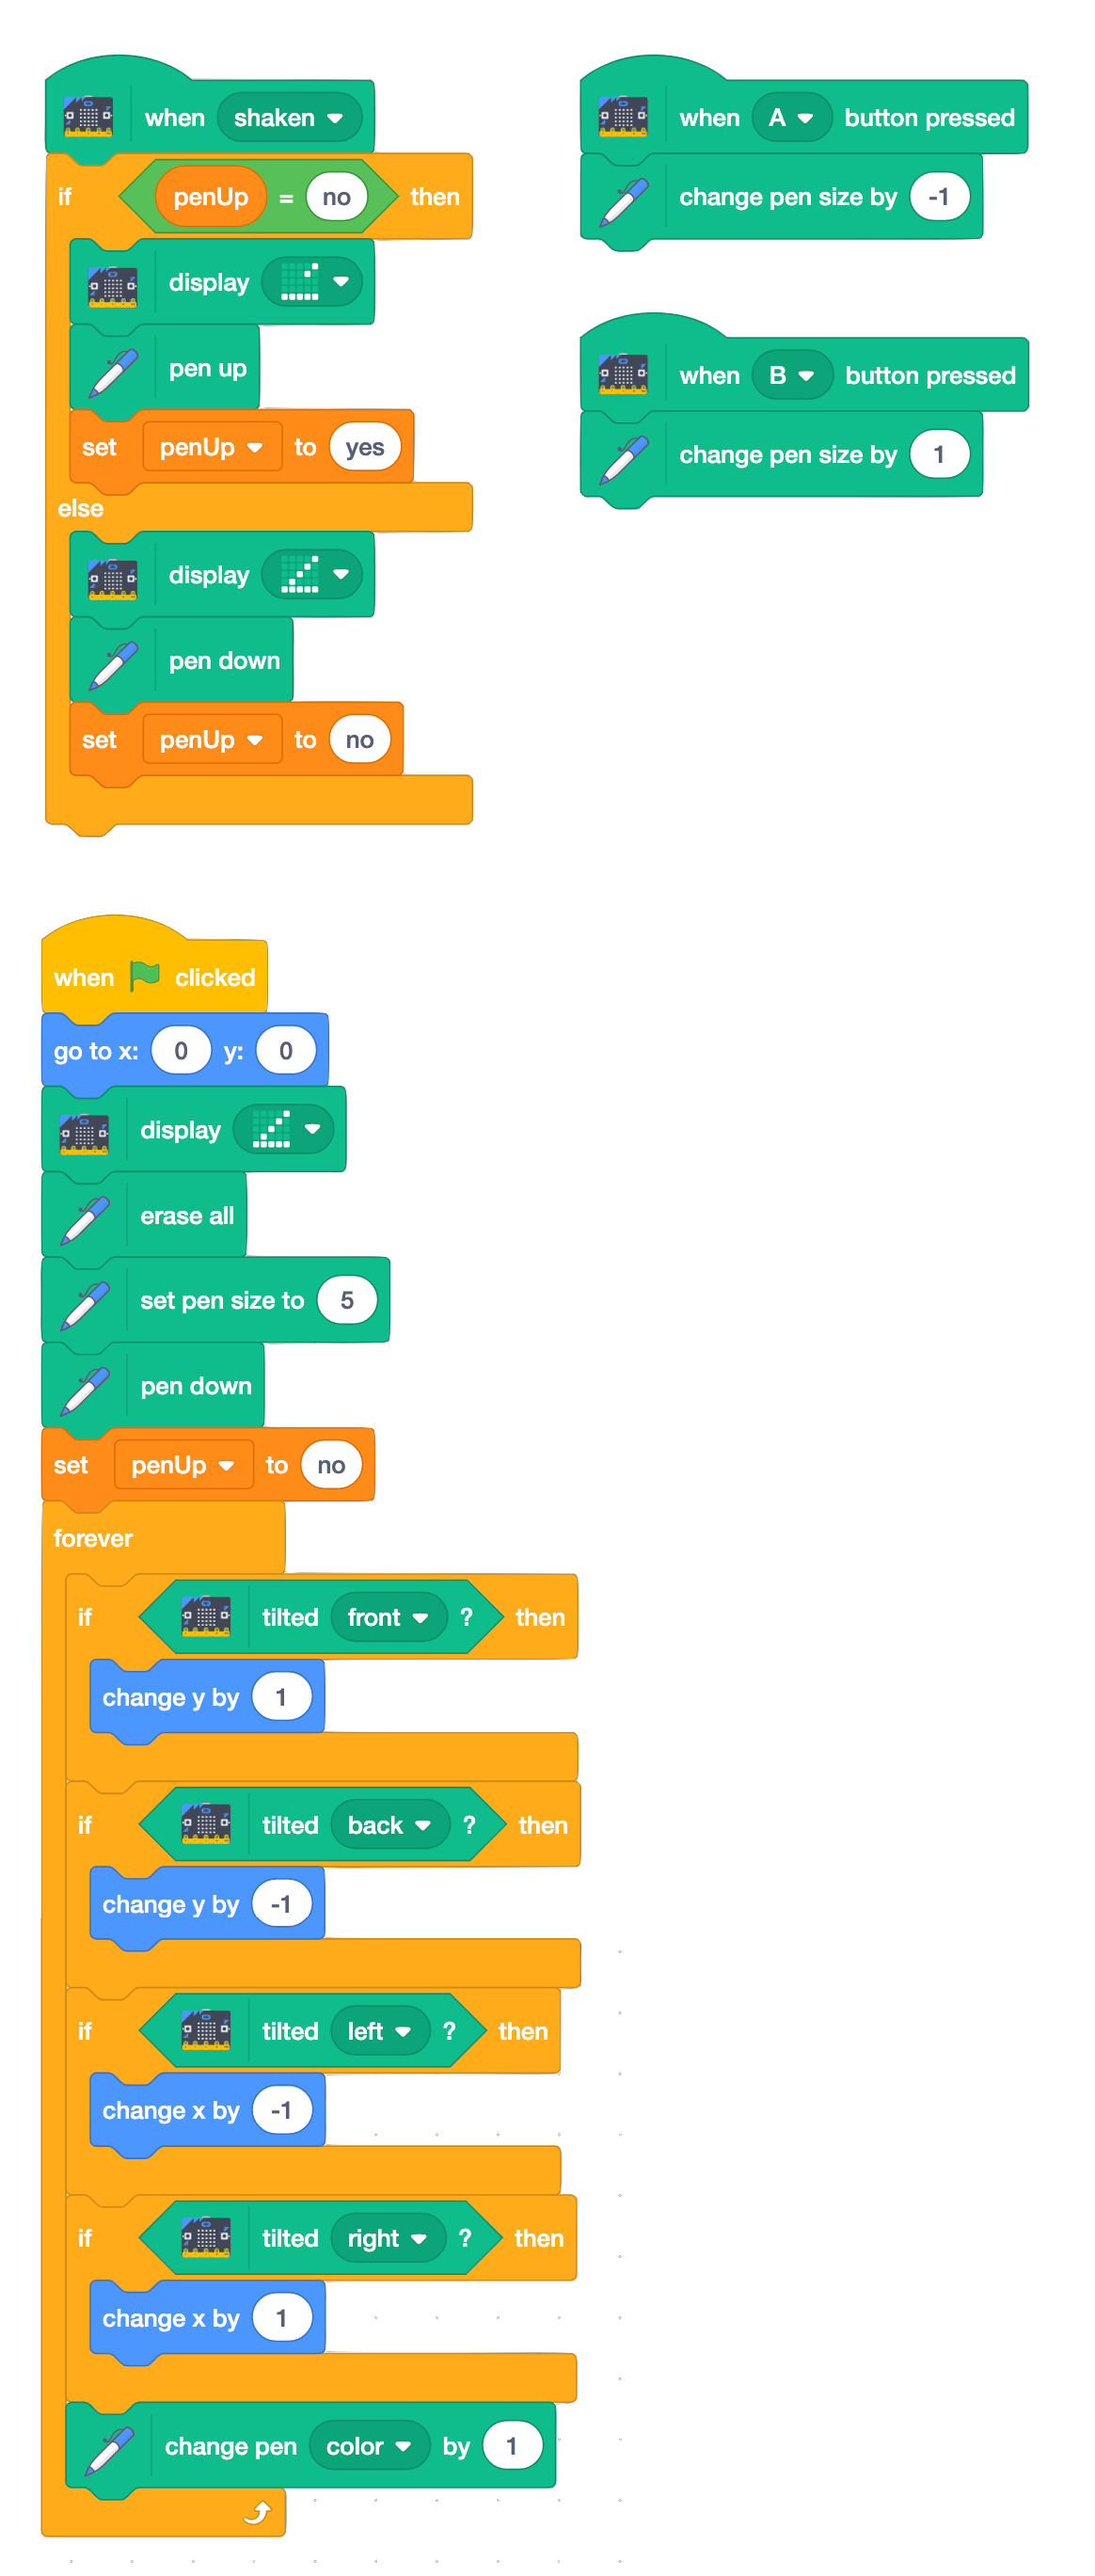
Use your micro:bit to control a Scratch drawing program.

How it works
- This program uses the micro:bit’s accelerometer to guide the pencil sprite around the screen, drawing a line as it moves.
- Tilting the micro:bit left or right makes the pen to move left or right in the X-axis, across the screen.
- Tilting the micro:bit forwards and backwards makes the pen move up and down, in the Y-axis.
- If you tilt it diagonally you get diagonal lines.
- You can control the thickness of the pen lines with micro:bit’s A and B input buttons.
- Shake it to use the micro:bit’s accelerometer input to raise and lower the pen, so you can move around without making a mark.
- The program keeps track the pen’s status (whether it’s up or down) using a variable called penUp. It shows different icons on the micro:bit’s output display so you know if the pen is up or down.

What you need
- micro:bit
- suitable computer with Scratch link installed. See https://scratch.mit.edu/microbit for details on how to get Scratch working with micro:bit.
- optional battery pack
Step 2: Code it
Step 3: Improve it
- Add a way of controlling when the colour changes.
- Modify the program so shaking or ‘jumping’ the micro:bit clears the screen.
- Show the pen thickness on the micro:bit’s display.