ステップ1: 作る
説明
2つのワニクリップを使ってmicro:bitを使って、物質が電気を通すかどうかを調べましょう。古典的な科学実験を行う簡単な方法です!
使い方
- 以下のコードをmicro:bitに転送するか、自分でプログラムを作成したい場合は上記のコーディングビデオを見てください。
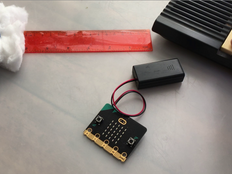
- micro:bitの下部には5つの大きなピンがあります。 ピン1とGNDまたはグランドピンをワニ口クリップ付きコードで接続すると、電気回路が完成します。
- 安全のために - GNDと3V端子を直接接続しないでください。micro:bitを損傷する可能性があります。
- 2つのワニクリップリードを取り付けた場合、1つはピン1、もう1つはGNDピンに取り付けます。 2つの端の間にシルバー箔やフィルム等の素材を貼ることで、それが導電性か絶縁体かを調べることができます
動作の仕組み
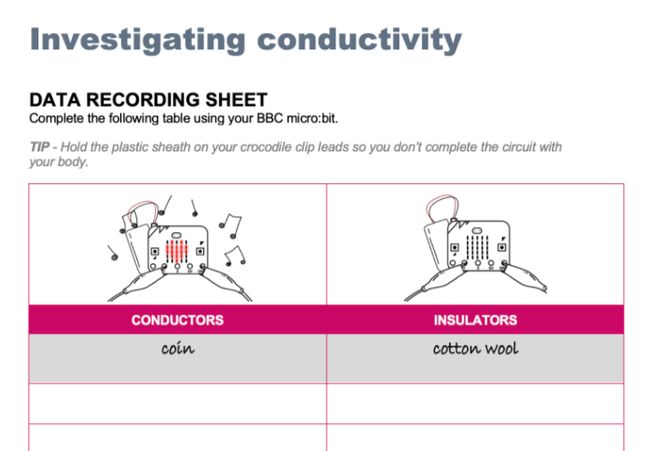
- 選択 を使用します。 もし 電子回路ができた場合(素材が導電性) の場合 micro:bitはディスプレイにハートを表示し、ドの音を鳴らします。
- そうでない場合、電子回路ができていない場合は、micro:bitはLEDの表示を消して音を鳴らしません。 - micro:bitは0Hzで音を鳴らすようセットされます。
- プログラムはずっともしくは無限 ループ を使い、micro:bitを電源から外すまでテストし続けます。
必要なもの
- micro:bit (または MakeCode シミュレーター)
- MakeCodeエディター
- バッテリーパック(任意ですが推奨)
- 私たちのピンに関する紹介ビデオ が役に立つでしょう
こちらもおすすめ
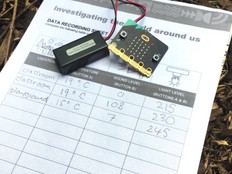
導電テスターの記録シートは、教室やコーディングクラブにある物が電気を通すか通さないか記録するのに使えます。
ステップ2: プログラムする
ステップ3: 改善する
- プログラムを調整して別のアイコンを表示したり、材料が導電性の場合は別のサウンドを再生したりしましょう。
- 鉛筆の芯、PlayDoh、乾燥したティッシュペーパーなど、導電テスターで幅広い材料を試してみてください。
- 人間を試験材料として使うのも楽しいですよ! 単純にワニクリップを両手に持つか、人間の鎖を作ってみましょう。