Step 1: Make it
What is it?
Use two BBC micro:bits to measure sound levels in a science investigation into the sound insulation properties of different materials.
Introduction
Coding guide
In this project you'll use computing technology to turn micro:bits into tools to help you carry out a science experiment.
It uses two micro:bits and a sound source to test the sound insulating properties of different materials. So you can read the sound level measurements even when the sensor is covered, it transmits sound measurements by radio to a receiver micro:bit placed nearby.
You can transfer the different code (below) onto the transmitter and receiver micro:bits, or you can code it yourself and learn about how it works in the coding video above.
Transmitter / sensor
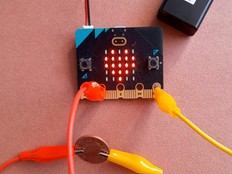
The transmitter micro:bit, which must be a micro:bit V2, is the sound sensor which you’ll wrap in different materials. It uses its microphone to measure sound levels and then sends them by radio.
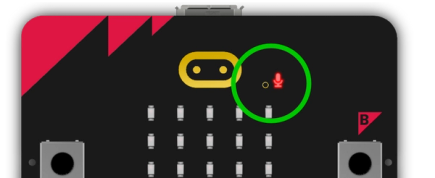
The microphone senses sound from a small hole on the front of the micro:bit. Make sure that materials you want to test are not touching or moving against this, as this may affect your sound level readings. You may find it helpful to place the sensor micro:bit inside a cardboard box lined with different materials, for example.
Sound source
Place a sound source a fixed distance from the sensor. This can be anything, such as a musical instrument that makes a sound at consistent volume, or a mobile phone ring tone. We’ve also supplied an audio file below that you can play from a phone or computer.
Having the sound source make sounds of the same volume and the same distance from the sensor ensures it’s a fair test.
Receiver
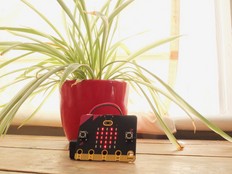
The receiver micro:bit is where you view the sound level readings. You can place it anywhere within a few metres of the transmitter.
Starting the experiment
- Wrap the transmitter / sensor in the material you want to test.
- Press the reset button on the back of the receiver micro:bit when you start each test to set the sound level back to 0. Keep very quiet!
- Make the sound using your sound source.
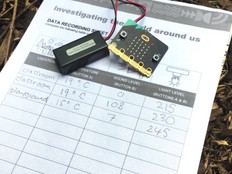
- Press button A on the receiver to view the sound level on the LED display. This is shown in a scale from 0 (the quietest) to 255 (the loudest). It shows the maximum sound level measured since you pressed the reset button.
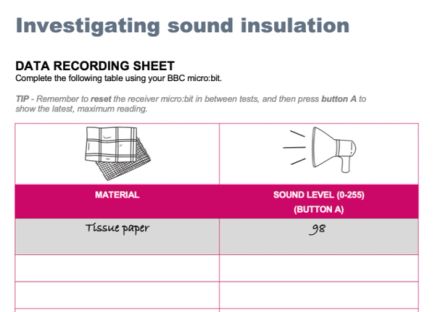
- Make a note of the number using our data recording sheet or on another piece of paper.
- Repeat the experiment, wrapping the transmitter / sensor in different materials.
- You can then analyse your data to draw conclusions about which materials make the best sound insulators.
What you need
- Two micro:bits. (The transmitter must be a micro:bit V2, but the receiver can be a micro:bit V1 or V2.)
- At least one battery pack (recommended for the transmitter)
- A constant sound source
- Different materials to test, for example foam, bubble wrap, cardboard, and paper. A small cardboard box may also be useful
- Sticky tape or rubber bands to keep the materials in place
- A ruler or tape measure to measure a fixed distance between the sound source and transmitter
- Data recording sheet or paper and pencil
Supporting resources
The data recording sheet can be used to record your measurements, and the sound file can be played from a phone or computer for use as your sound source.
Step 2: Code it
Transmitter / sensor
Receiver
Multiple experiments in the same room
If you need to carry out multiple experiments in the same room, each pair of micro:bits will need their own unique radio group number. Modify the code to change radio group number. You can use any radio group number between 0 and 255, making sure that the numbers on each pair of micro:bits match.